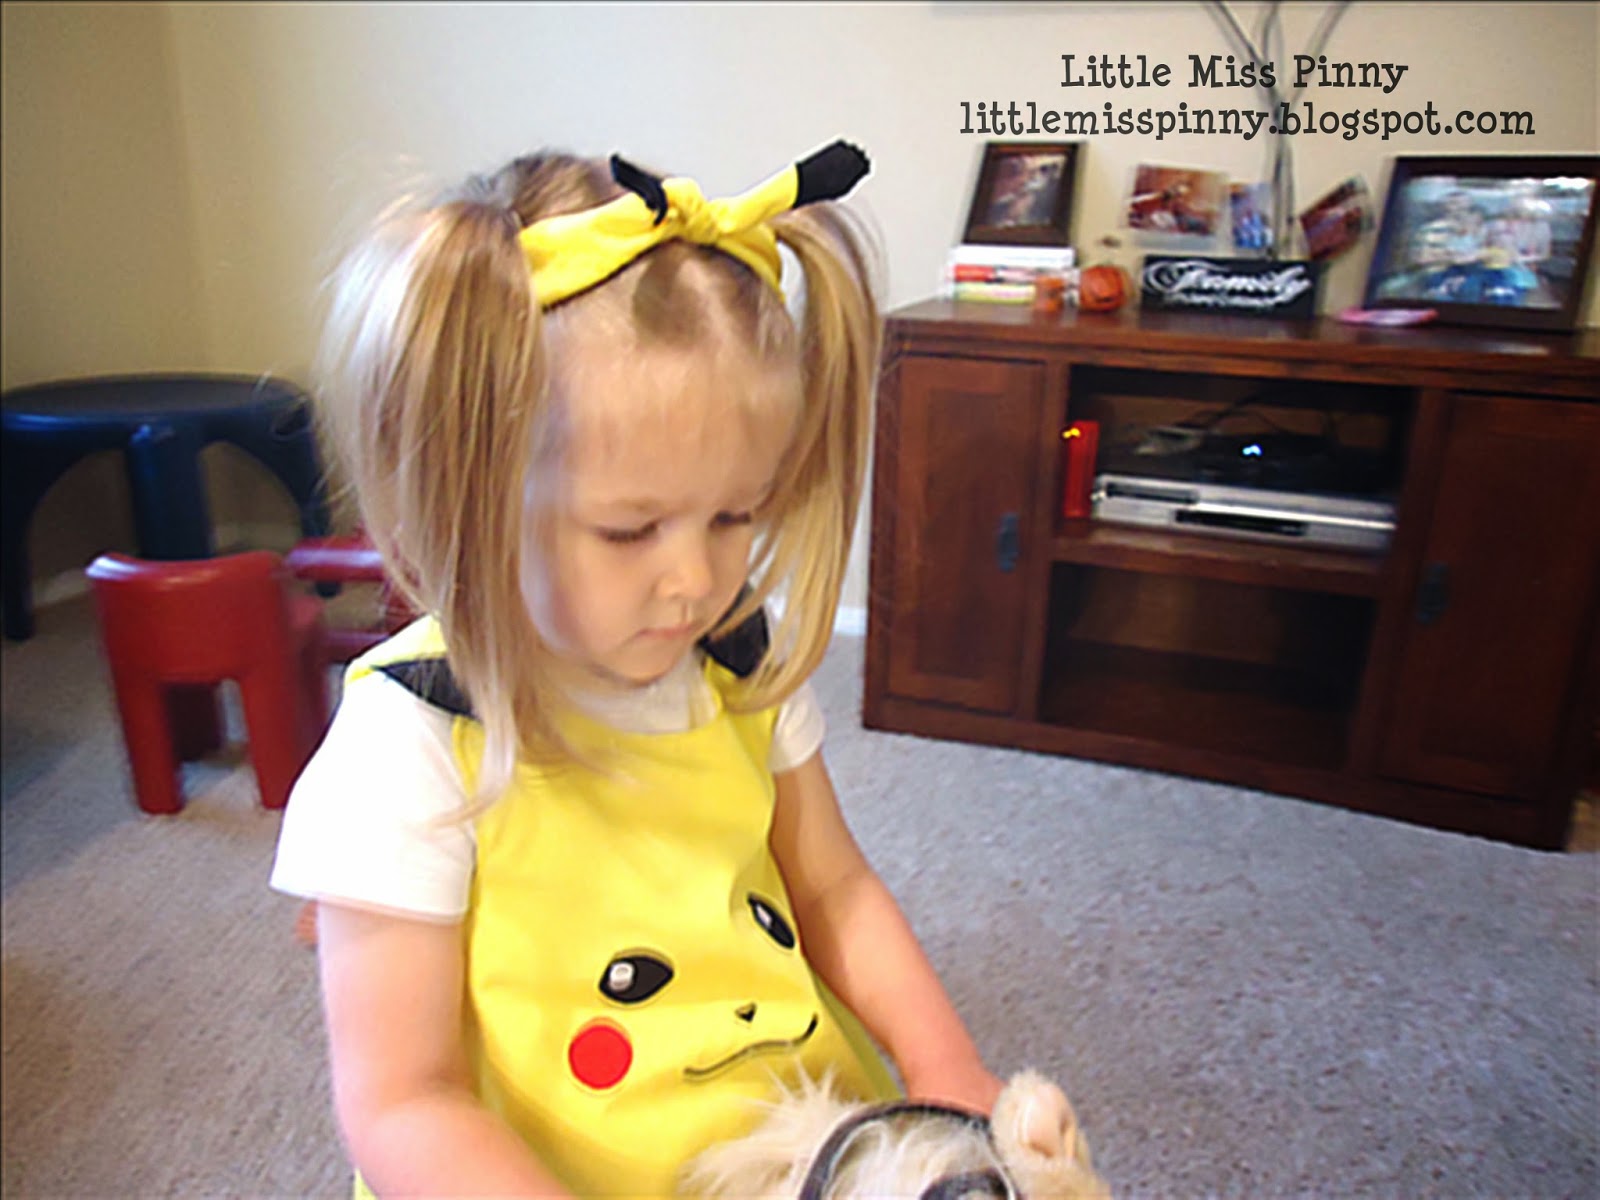
With the recent introduction of the Playful Pikachu pinafore, I thought I would make a tutorial on how to make something to go along with this pinny for an everyday look. I thought up this fun idea for a bandanna that can be worn as a headband! The black tips resemble Pikachu's ears, which is just too cute!

Here's what you'll need:
Yellow fabric (it will need to be cut into a 20x20 in. square, so make sure you have enough to do that).
Black fabric (you will only need a very small amount. You could use scrap fabric if you have some)
Yellow thread
Black thread
Sewing Machine
Sewing Scissors
Serger (Optional)
(Before we start, I just have to apologize for the lack of actually good pictures. I had to do this one late at night and in a bit of a hurry. :P Sorry about that. The end result is great looking though, I promise!)
1.) To begin, cut out a large square of yellow fabric measuring 20 inches by 20 inches. Snip off a small amount from two opposite corners of your fabric. This is where you'll put the black fabric for the tips of the "ears."

2.) Take those yellow corners that you snipped off, and use them as a guide to cut out two triangles from your black fabric. Be sure to add a little extra to the bottom of your triangle to compensate for seam allowance.
3.) Pin the black fabric to your yellow and sew down.

Your fabric should look like this when you're done sewing.

4.) You have a couple different options for this next part. You can either select a setting on your machine that is a zig-zag stitch, or use a serger. I don't have a serger, so I used my sewing machine. I actually have a stitch on my machine that looks similar to what a serger does, so that's what I went with.
Sew/serge along the entire outside of the fabric so that there are no more raw edges. Make sure you go around the black first with your black thread and then the yellow with your yellow thread.

5.) After that, grab both of the black corners and fold your fabric into a triangle.

6.) Fold the bottom of the triangle up about an inch or two and continue to roll it up until you reach the tip.

7.) Tie it on your little cutie's head in a knot and you're done!

This version is a very fast and simple one. If you'd rather something that looks a little nicer, you can make two of these and sew them both together. That prevents you from having any raw edges to deal with, but it does take extra fabric and time (which I didn't have either), so I'll leave it up to you. :)


Now she's ready to go and chatch 'em all! ;)
Aw, what a CUTE idea!!! I love it as an option instead of a regular headband (which my girls quickly break!). And it's simple enough- I think I'll try it for Harper's costume!
ReplyDelete